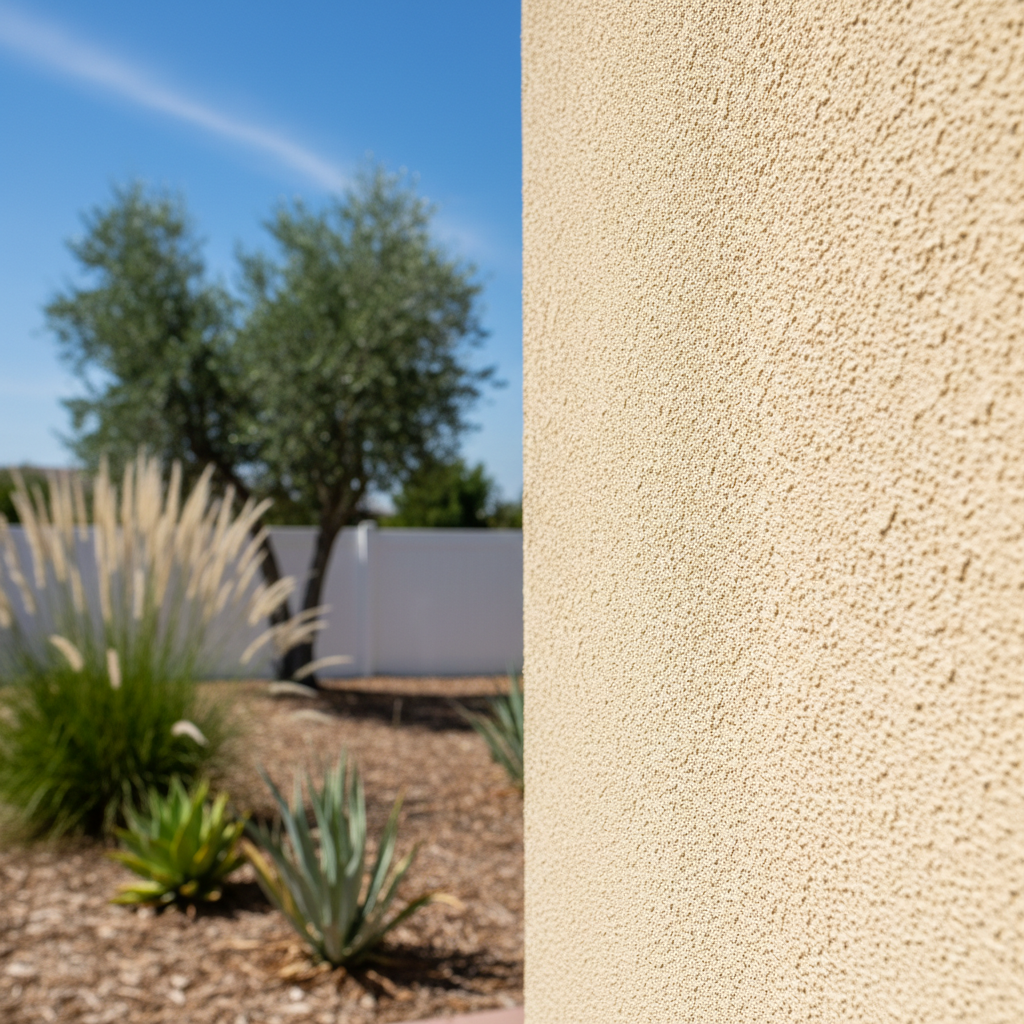
Thinking About New Stucco? Here's the Lowdown.
So, you're eyeing a stucco installation for your place here in Temecula. Maybe you're adding on, or perhaps you're just plain tired of that old siding and want something tougher, something that really fits our California vibe. It's a smart move, honestly; stucco handles our hot, dry summers beautifully, and even those occasional heavy rainfalls we get don't faze it much. But before you grab a trowel and a bucket of mix – hold on a sec. Let's chat about what's actually involved. This isn't usually a weekend DIY job for most folks, but understanding the steps helps a ton, whether you're patching a small spot or tackling a whole house.
Before You Start: Planning and Prep Work
The biggest mistake I see homeowners make? Not planning enough. Stucco isn't just about slapping mud on a wall, you know. It's a whole system. You've got to think about a few key things first:
- Permits: For any big exterior work, especially new construction or changing materials, you'll probably need a permit from the City of Temecula. Don't even think about skipping this. It's not just about avoiding fines; it's about making sure your project meets safety and building codes.
- Understanding the Layers: Traditional stucco doesn't come in just one layer. Nope. It's usually three coats over a lath and paper system. You've got your scratch coat, then the brown coat, and finally, the finish coat. Each one has its own job, and each needs proper drying time.
- Substrate Condition: What are you stuccoing over, anyway? Wood sheathing? Masonry? The prep work changes depending on that. You need a surface that's solid, clean, and dry. Any rot or damage? Fix it first.
- Water Management: This is huge, absolutely critical. Stucco resists water, but it's not waterproof. You need proper flashing around windows, doors, and down at the foundation. If water gets behind the stucco and can't find its way out, you're just asking for trouble down the road. This is where a lot of DIY projects really go sideways.
- Material Choices: There are different kinds of stucco mixes and finishes out there. Do you want a super smooth look, a sand finish, or something with more texture, like a dash finish? Your choice here affects both the final appearance and how it gets applied.
During the Project: What's Happening on Your Walls
Once you've got everything prepped, the real work starts. If you're hiring a pro, you'll see them follow a pretty systematic approach. But if you're thinking about doing a small patch yourself, here's what you're in for:
The Lath and Paper
This is your foundation, literally. We put a weather-resistive barrier (think building paper or a synthetic wrap) right onto the sheathing. That's your first line of defense against water. On top of that goes the metal lath (it looks a bit like chicken wire, but it's actually specific stucco lath). This gives the stucco something solid to grab onto. It's super important that this part gets installed correctly, with the right overlaps and fasteners. I've seen too many homes, especially in older spots like the Santa Gertrudis Creek neighborhood, where the lath wasn't done right, and it led to cracking later on.
The Scratch Coat
This is the first layer of stucco mix. We apply it directly to the lath, pushing it through the mesh to create a really good bond. Then, we